This guide will show you how to add a JDK version to Jenkins. If you plan to run a Java build requiring a specific version of the Java Development Kit, you need to do this.
Table of Contents
What is a JDK?
JDK is short for Java Development Kit, and it is a core technology packages used in Java programming. The JDK allows developers to create Java programs. Once compiled, the Java code can then be executed and run by the Java virtual machine and the Java runtime environment.
Let’s add a JDK version to Jenkins
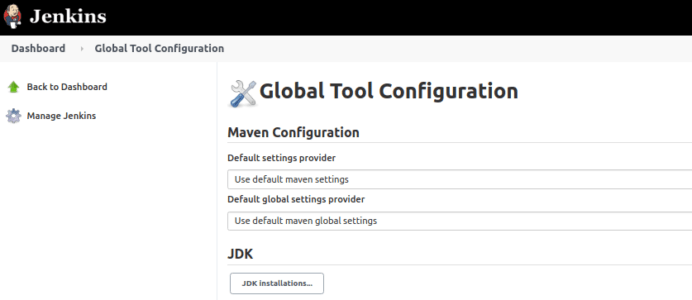
You can add a JDK version by navigating to Jenkins -> Manage Jenkins -> Global Tool Configuration.

The global tool configuration menu will open the following window:

Next, click the JDK Installations” button under the JDK section to configure multiple JDK versions.
You should now see a window similar to this:

Next, follow these steps to add your JDK version:
- Add a name for the Java version
- Then check the toggle for Install automatically.
- Next select the JDK Version from the dropdown.
- Enter your Oracle account credentials.
- Check the License Agreement checkbox.
- Then finally click the “Save” button.
Finally, you can also use installers other than Oracle. So, if you need to change it, click the “Add Installer” select list for the available options.
Wrapping up
Now you know how to add a JDK version to your Jenkins installation.


